MockMotor
Reactions
Each mock service contains several reactions.
A reaction is a configured reply for a request. The reaction has a pre-configured payload (often scripted), HTTP status, delay and other properties that the calling application expects to receive to continue the test scenario.
In the simplest form, there is one reaction per service operation (SOAP operation or a REST method+URI).
In more complex cases, there could be multiple reactions per operation, one reaction handling multiple operations or even reactions that do not correspond to any specific operation.
Reaction Matching
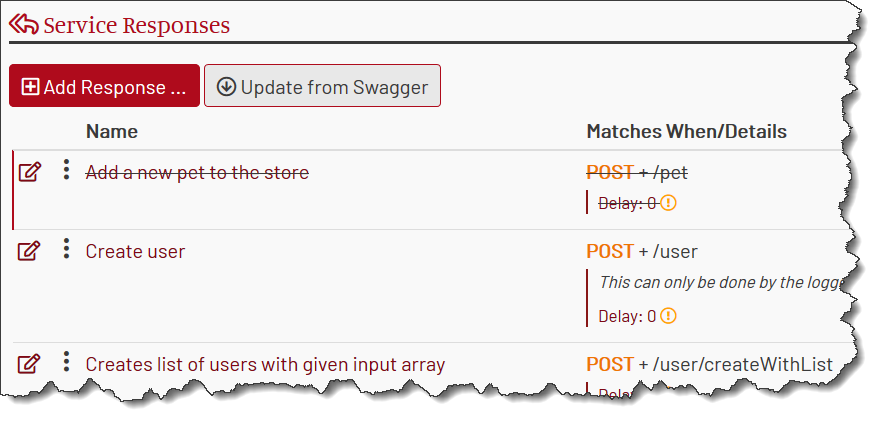
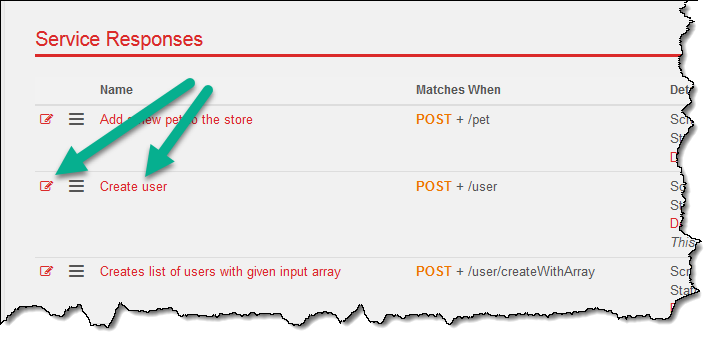
Reactions in a mock service are organized as a list.
For each incoming request, each reaction is tried in turn, starting from the top of the list until one of them matches.
If there are no reactions left in the list and the match is still not found, MockMotor generates an HTTP 404 response.
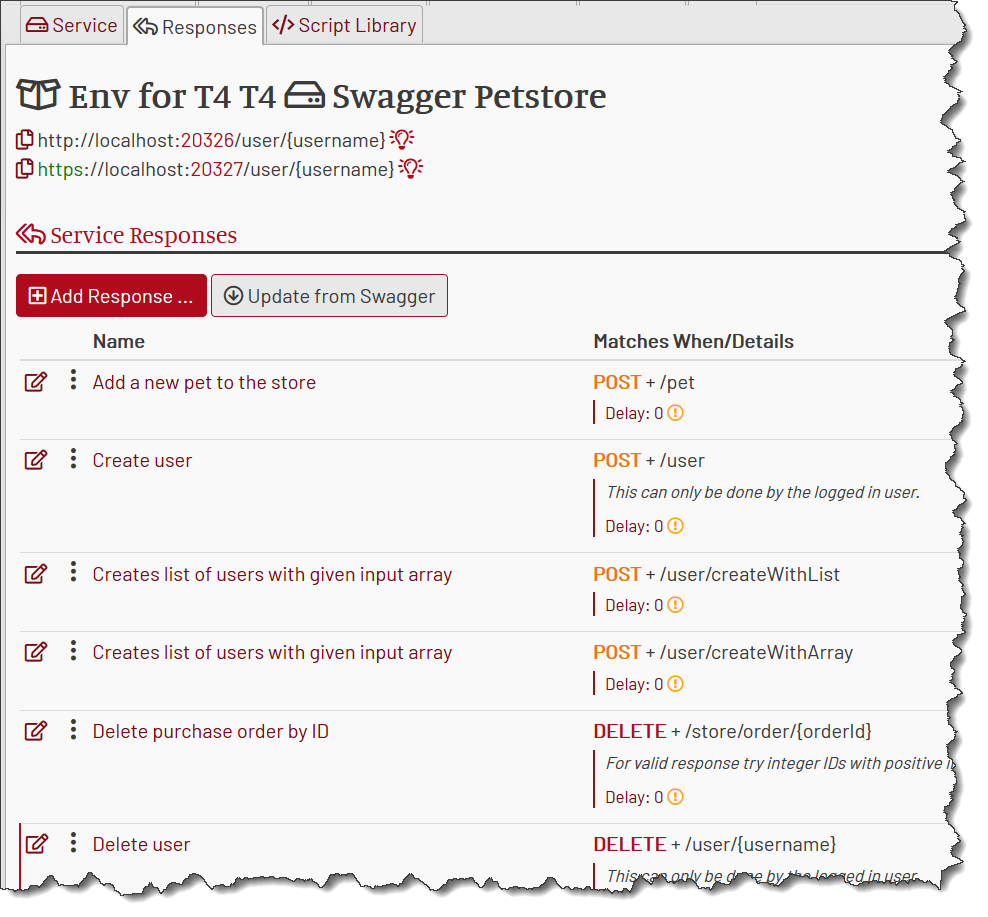
For example, in the service above, the incoming request will be:
1 First checked for HTTP operation POST and the relative URL /pet.
2 Then, if either of these conditions fails to match, the request will be checked for HTTP POST and URL /user.
3 And so on.
Reaction selection can also be made by a SOAPAction header, the first element of XML payload or even by a script (XPath or Javascript).
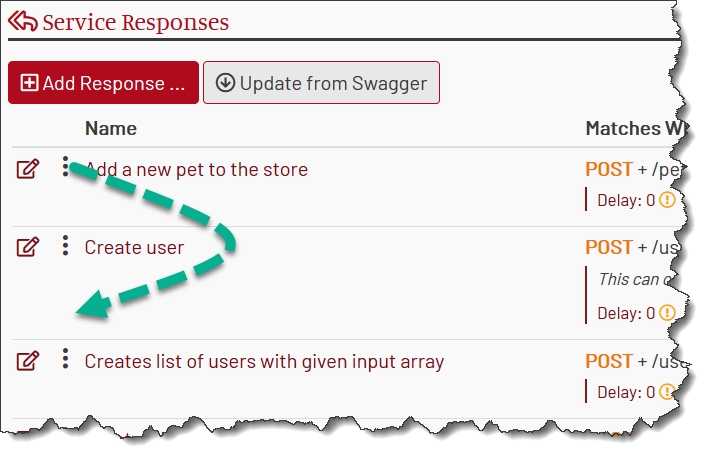
Reaction Order Change
As already mentioned, the reactions are matched in order of their appearance on the list.
To change the order of reactions, drag and drop a reaction to its new place using the reorder control :
Adding a New Reaction
Adding a Reaction from Request and Response
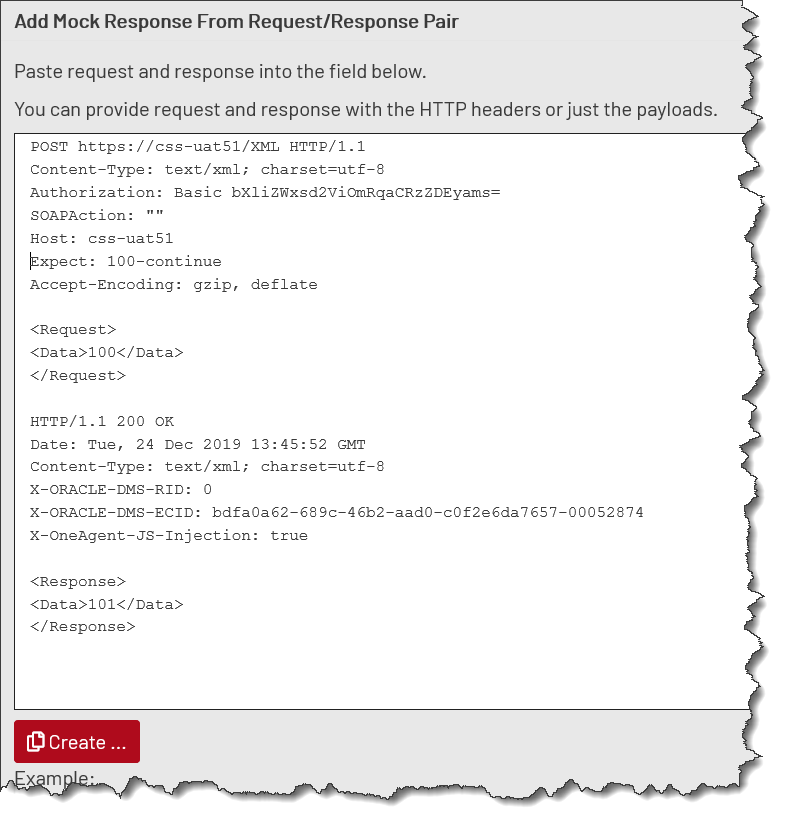
It is a common situation when development provides a request/response pair saying, “This is our request, and this is the response we want to have.”
Perfect! We can do just that.
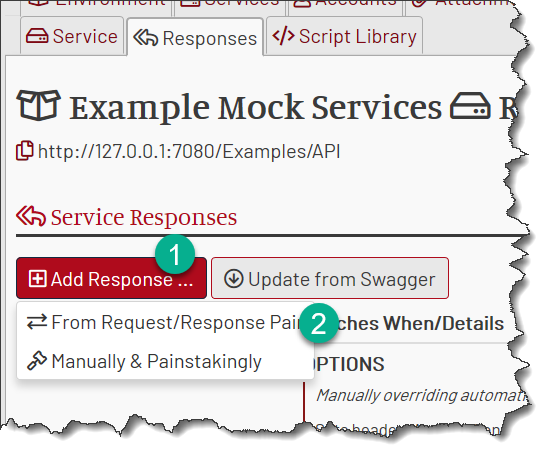
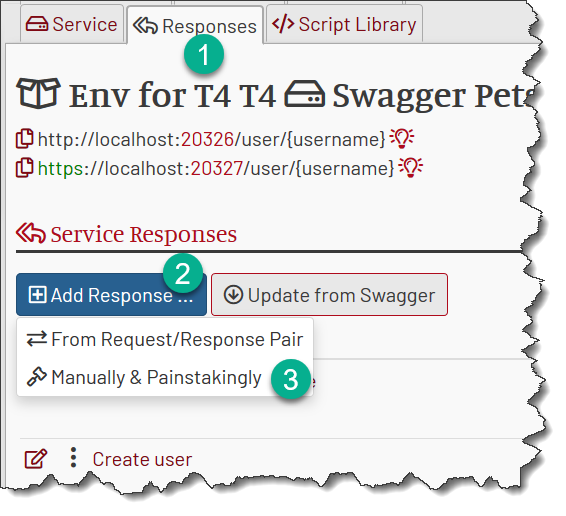
On the Reactions page, click Add Reaction... and then From Request/Response Pair....
A new dialog appears. Enter your request and response into the dialog window.
You can provide the request and response headers:
Or, you can just provide the payloads:
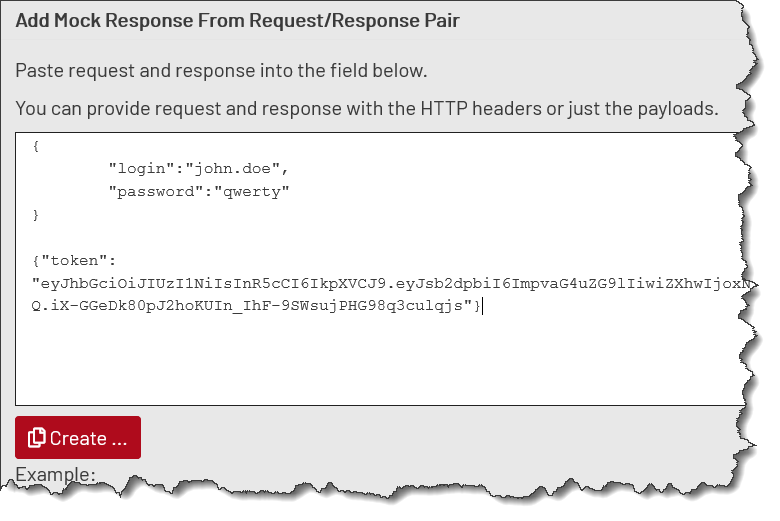
In the second case, you’ll have to provide the HTTP-related fields in the reaction after it is created.
Now click Create and MockMotor creates a new reaction that matches your request and returns your response.
Adding a Reaction Manually, Step by Step
To add a new reaction, click on provide Add Reaction and then Manually.
Provide the required properties. The minimum is the Match Options and Response Payload. When the changes are complete, click Save.
More on reaction properties in:
1 General Info
2 Match Options
3 Accounts Selection
4 Payload
6 Properties
6 Attachments
7 Updating Accounts
8 Change History
9 Debugging a Reaction
10 Reaction Cloning
Editing a Reaction
To edit a reaction, navigate to the Reaction page by clicking on either the edit icon in the reaction row or on the reaction name.
Cloning a Reaction
To create a copy of an existing response, navigate to the Reactions list page and click Clone. Read more details on this here.
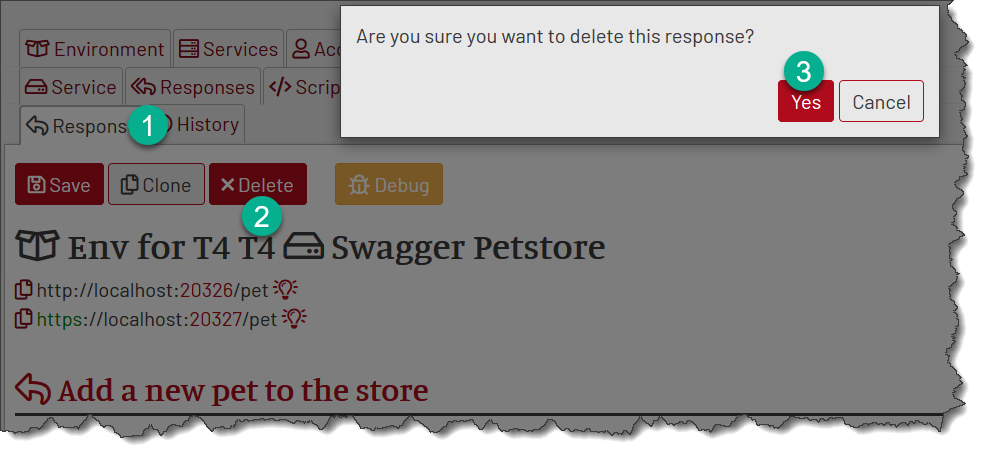
Deleting a Reaction
To delete a reaction, navigate to the Reaction page and click Delete. You will be asked for confirmation.
Note that this operation is not reversible.
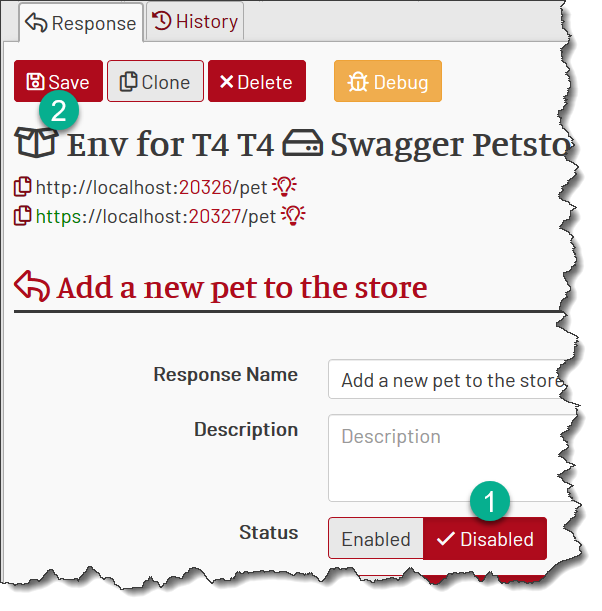
Disabling a Reaction
A safer alternative to deleting a reaction is to disable it.
Navigate to the Reaction page and click “Disabled” in the Status line, then click Save. The reaction will be disabled, i.e. ignored by any incoming requests.
The disabled reaction are strike-through in the response list: