 MockMotor
Mock Environments
A mock environment contains all services that you’re going to use for your project or release.
You should normally create a new environment when you start a new project. You can also clone an existing environment for a new release or to reuse the existing mocks.
The mock environments page lists all environments created within this installation of MockMotor:
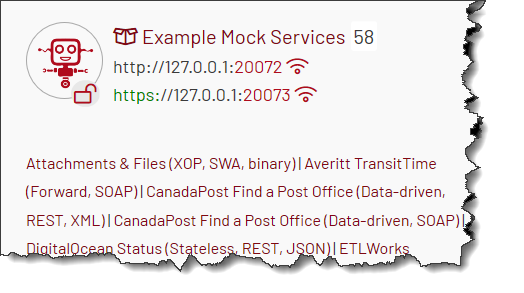
Each environment has a human-readable name to help identify its purpose.
Creating a New Mock Environment
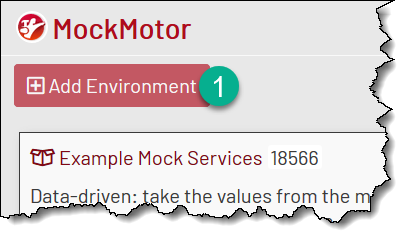
To create a new empty environment, you should click on the Add Environment button:
In the New Environment dialog, provide the environment information:
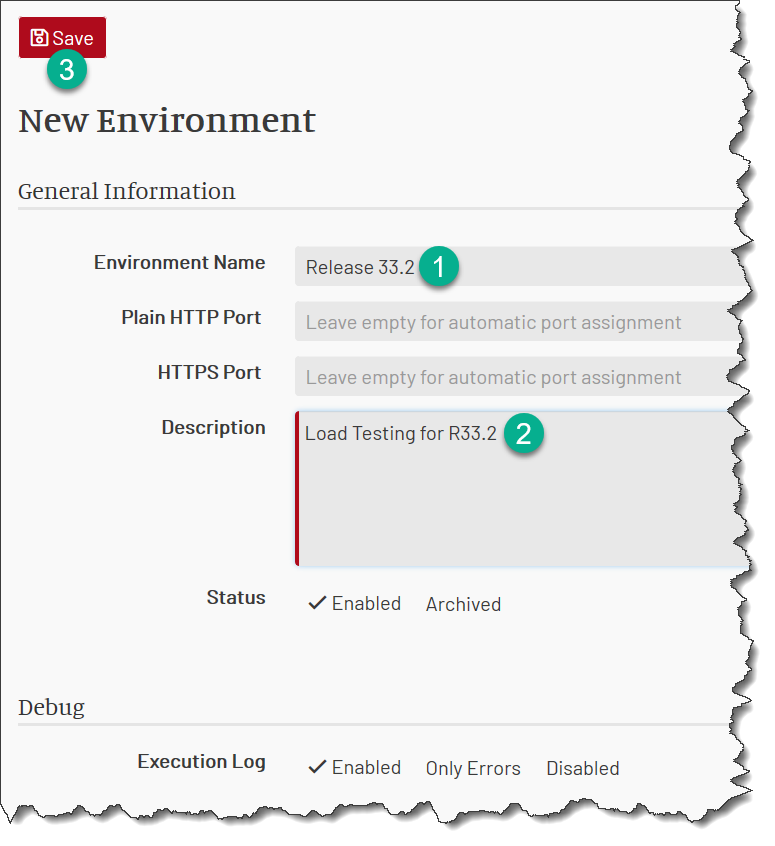
The environment name can be any human-readable name. You can provide a free text description for more information on the environment’s purpose.
You can choose the HTTP/S ports the environment is bound to, but in most cases it is easier to leave it for automatic assignment.
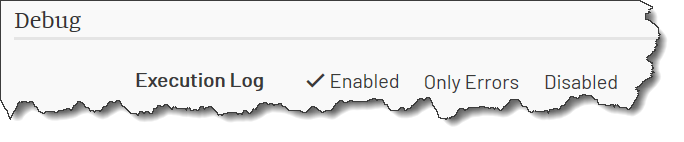
The execution log is enabled by default to help with the initial configuration and troubleshooting. Note, however, that the execution log may affect the performance. Consider disabling it during heavy load tests.
Finally, click on the Save button to create the environment.
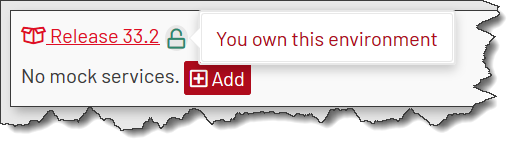
You automatically become the owner of the environment that you’ve created (i.e. you can do any change within it including deleting it). Other users do not have this right unless you grant them ownership.
Environment Properties
Name
Each environment should have a unique human-readable name so that you can easily refer to it when talking to your coworkers.
For example, your environment can be called “R74” for the release 74 services, or “V7 Launch” for tests targeted at a special high-volume event.
Description
Here you can add notes that you need to have about why this environment was created, who uses it and generally any information that you or your coworkers may find useful to know about this environment.
HTTP Port
The plain HTTP port the environment is listening on.
HTTPS Port
The secured HTTPS port the environment is listening on.
The identity certificate is taken from the instance settings. If the custom certificate is not provided in the settings, the self-signed MockMotor certificate is used.
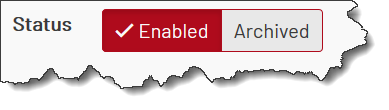
Status
An environment may be enabled or archived.
An enabled environment handles all traffic that comes to its mock services. This is the default state of an environment.
An archived environment rejects all traffic. This is useful to suppress traffic from URLs that are accidentally left in calling applications and still pointing to this environment. Such leftover URLs can cause a lot of troubleshooting pain when the applications behave strangely, and it is hard to figure out why.
The best practice is to archive an environment as soon as it is not used.
Archived environments are moved to the bottom of the environments list. Also, not all data from archived environments are loaded, which saves resources.
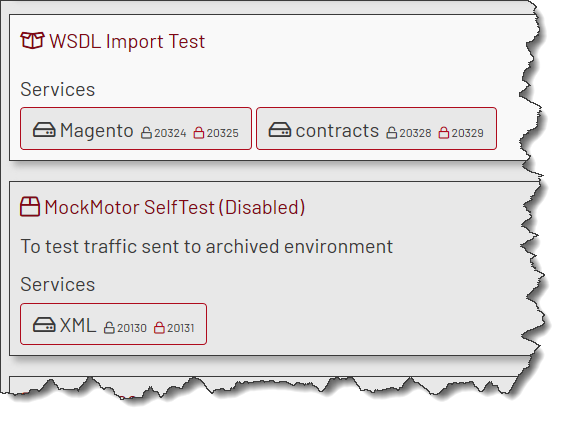
Archived environments reject all requests that are sent to them with HTTP 500 and message that the environment is archived:
HTTP/1.1 500 Server Error
...

The environment [MockMotor SelfTest (Disabled)] is archived and doesn't handle any traffic
...
Execution Log
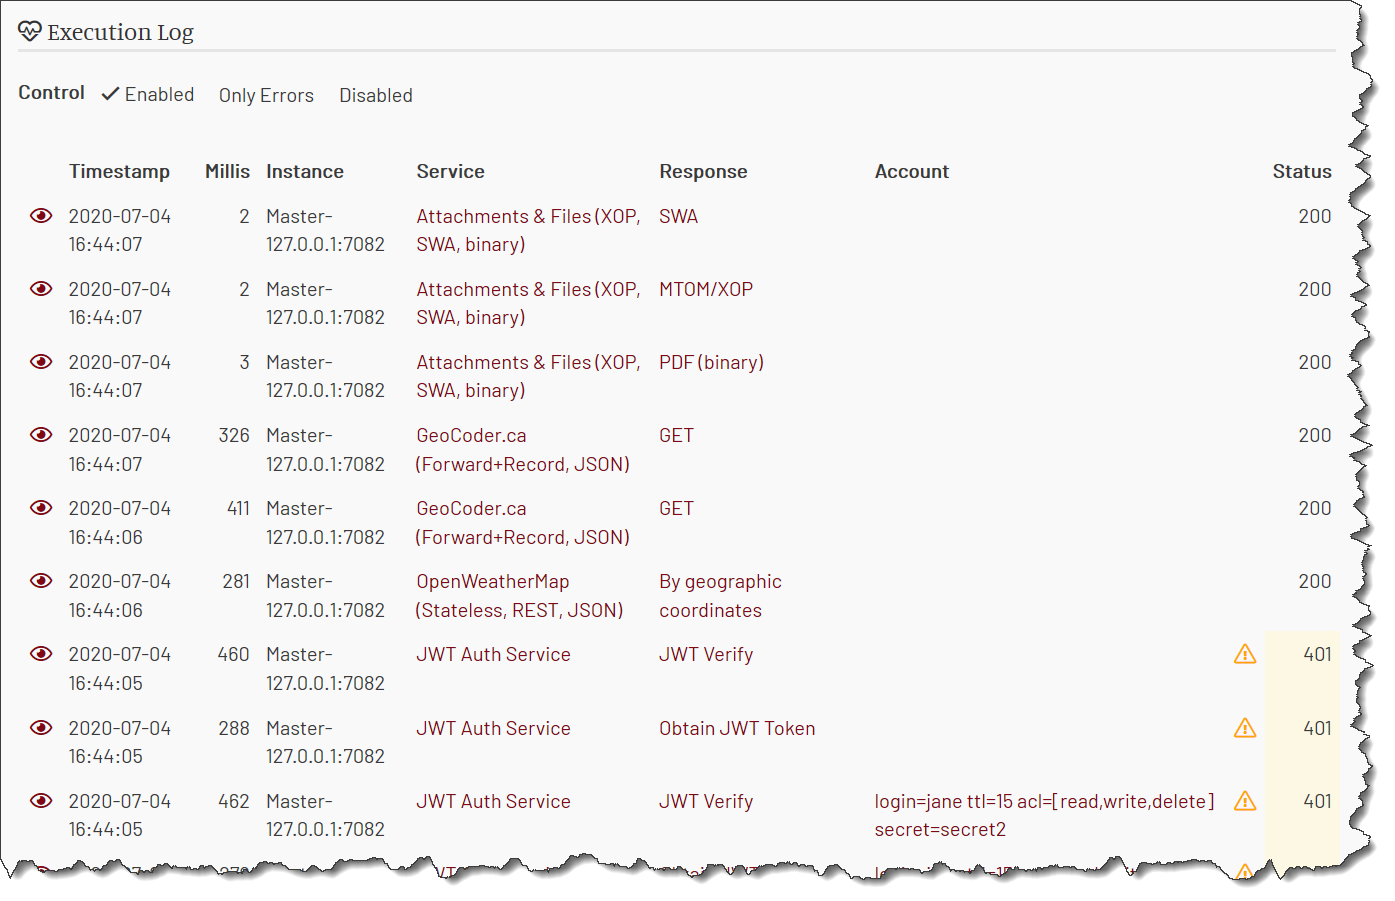
For troubleshooting purposes, you may want to see all the requests that are coming into the environment, and what reactions are handling those requests. When enabled, the execution log provides you with this information.
Note, however, that it has some, although minor, performance impact. If you’re running a high TPS test, consider disabling the execution log for the duration of the test.
You can see the execution log under the “Log” tab on the Environment page.
Modifying Environment Information
You need to be the environment owner or an admin to make any changes in it.
To change the environment properties, update the environment information and click Save.
The environment name can be any human-readable name.
Provide a text description for more information about the environment’s purpose.
Unless you’re done with the environment, you will want to keep it enabled.
You can enable the execution log to help with initial configuration and troubleshooting. Note, however, that it may affect the performance, so consider disabling it during heavy load tests.
Finally, click the “Save” button.
Clone an Environment
If you intend to run a similar set of tests but with some variations, for example, for a pilot project, you can save a lot of time by cloning a previously used environment into a new one.
The source environment is not changed, only copied into the new one. All services, reactions and accounts are copied. The cloned environment gets new plain HTTP and HTTPS ports.
You don't have to be an owner of the environment to clone it. You become the owner of the clone.
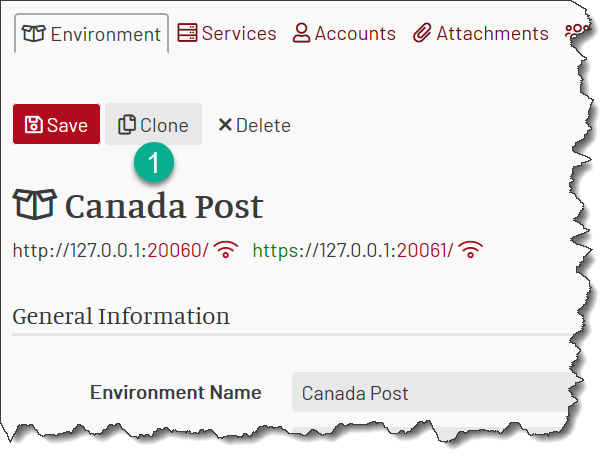
To perform cloning, click on the “Clone” button on the Environment page:
After some time required for cloning, you’ll be navigated to the cloned Environment page.
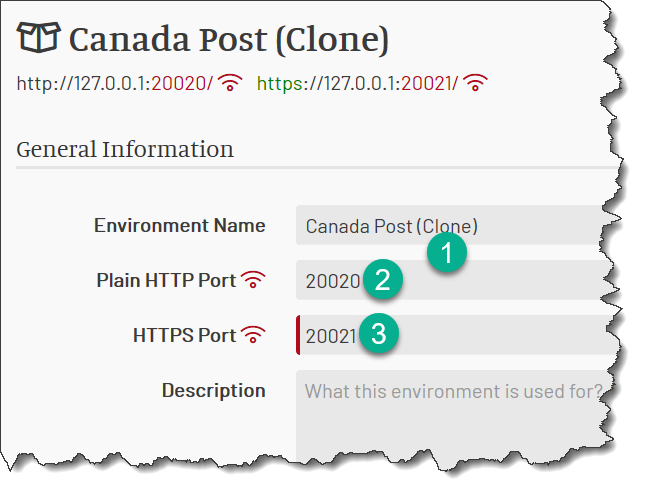
Note that the environment name is modified to add a (Clone) marker. Change the name as you see fit.
New HTTP/s ports are assigned to prevent a conflict with the original environment.
Delete Environment
You need to be an owner of the environment or an admin to delete an environment.
Because deleting an environment is irreversible, I suggest archiving the environments first and only deleting them when it is clear that you do not need anything from them anymore.
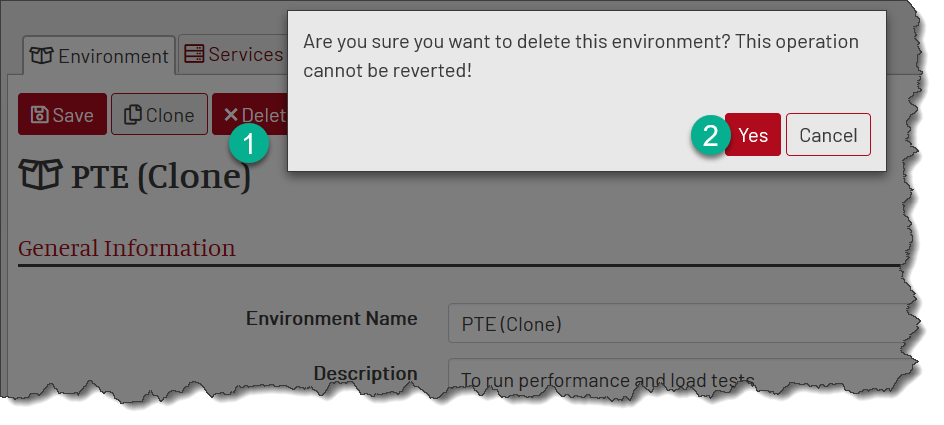
To permanently delete an environment, click on the “Delete” button on the Environment page and confirm your choice in the dialog box.
After deletion, you’ll be taken to the environments list.