MockMotor
Working with Mock Accounts in Excel
The most convenient way to perform data seeding or updates of mock accounts in MockMotor is to download them into Microsoft Excel (or any spreadsheet application that supports Excel *.xlsx files).
Each property from the mock environment is presented as a column in the spreadsheet.
Each mock account is a row.
To update the accounts, you need to:
1 Download the accounts into Excel
2 Update/add/delete the accounts
3 Import the Excel file to replace the mock environment accounts
Downloading Accounts into Excel
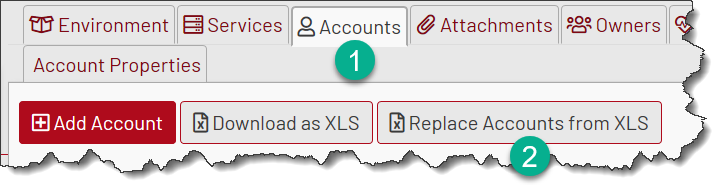
Navigate to the Accounts tab in the mock Environment, and click Download as XLS:

Use Excel or a compatible spreadsheet application to open the downloaded file.
Updating an Account
To update an account, find its row in the spreadsheet and modify its values.
Note that it is alright to use Excel formulas for setting the account values - MockMotor will evaluate the formulas during the import. However, please refrain from using rare functions as those may not be supported yet.
Creating an Account
To create an account, add a new row to the spreadsheet and set the values which the new account must have.
Empty values will be saved into the account as null (a missing value).
Deleting an Account
Just delete the row.
Creating a new Property
You can add a new property to the environment straight from the spreadsheet.
Create a new column and set its name in the header (the very first row of the spreadsheet).
When the spreadsheet is imported, if there is no matching property for any column, a new property will be created. The column name will become the property name.
Replacing Accounts from Excel
Uploading an Excel file will replace all accounts in the mock environment with the accounts from the Excel.
Navigate to Accounts tab in the mock Environment, and click Replace Accounts from XLS:
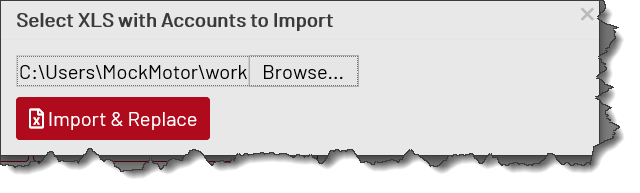
Select the saved Excel file and upload it: